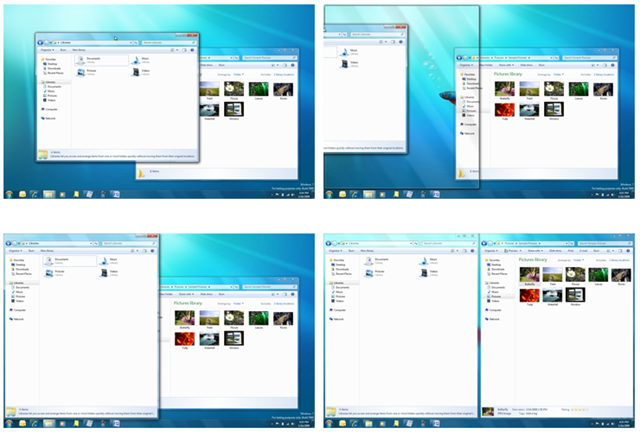
Windows Snap is one of the best new features in Windows 7. Here’s my original post describing how it works.
On a single monitor, you can display two windows side by side with a couple of mouse movements, as shown in the picture above:
If you drag a window until the mouse cursor touches the left side of the screen, the program expands to fill exactly half the screen.
If you drag another program until the mouse cursor touches the right side of the screen, the other program expands to fill the right half of the screen.
And voila! Two programs side by side – for editing documents side by side, for copying information from one program to another, for cutting and pasting.
It doesn’t seem to work with dual monitors. The inside edge of a desktop stretched across multiple monitors is not an edge, it’s a middle area. Programs don’t “snap” to the middle edges of the monitors, they just slide smoothly onto the next monitor.
There is an elegant solution, discovered by the senior member of the crack bruceb consulting research staff:
Instead of dragging with the mouse, hold the Windows key on the keyboard and hit the left and right arrow keys to snap the active program to the left or right side of the display. With dual monitors, you can actually move a program across the monitors – start with the program on the left and hit the right arrow repeatedly to march it across the screens, for example.
There are actually four keyboard shortcuts:
- Windows key + left arrow: Snap current window to the left side of screen (or move it to the next position left on dual monitors); unsnap window that is snapped to right side of screen
- Windows key + right arrow: Snap current window to the right side of screen (or move it to the next position right on dual monitors); unsnap window that is snapped to left side of screen
- Windows key + up arrow: Maximize current window
- Windows key + down arrow: Minimize current window; restore maximized window
